A practical place to begin
A sowing calendar can be useful and still be wrong for your garden. Elevation, coastal exposure, soil temperature, and a sheltered courtyard all change what a printed date means. Build a plan around the conditions each crop needs, then use dates as reminders to check rather than commands to sow.
Match a small set of crops to their real growing windows and the space available for seedlings. A good plan includes the transplant destination before the first tray is filled.
Choose the position and prepare
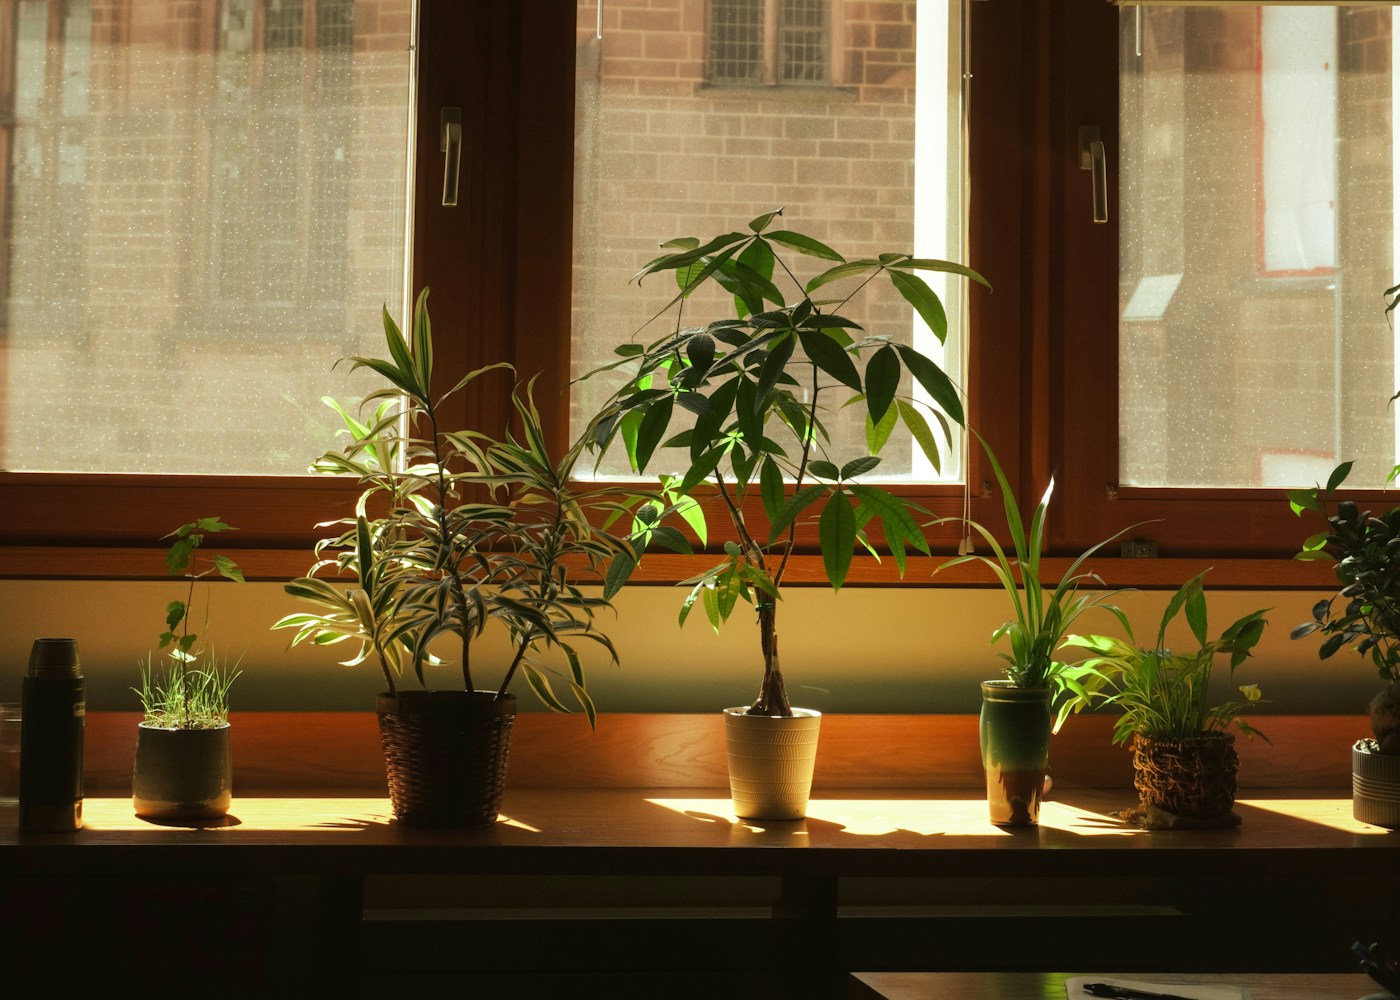
Map the growing area and distinguish indoor propagation space from outdoor finishing space. A sunny windowsill in early spring may be shaded later. Note which beds or pots stay cold and wet after rain.
Use seed packets, local extension or horticultural guidance, labels, and a simple notebook or spreadsheet. A soil thermometer can be useful where sowing guidance depends on soil warmth, but it does not replace observing moisture and weather.
List each crop’s sowing method, germination needs, and outdoor conditions. Work backward from a realistic planting window only after checking how long seedlings can remain healthy in your available space.
A manageable care routine
Plan the time needed to maintain moisture through germination. A sowing made just before travel can fail despite a perfect calendar date. Choose a batch size you can check without turning every windowsill into an unattended nursery.
Seedlings need suitable sowing medium and later nutrition according to their stage. Do not treat feeding as a way to hold oversized plants indoors indefinitely. Delaying a sowing can be better than forcing plants to wait in cramped roots.
Review the plan weekly and change only what conditions justify. Keep notes on actual emergence, transplanting, and harvest. Compare varieties under similar conditions instead of attributing every difference to the sowing date.
Observe before changing the plan
Long pale seedlings often reflect light problems, while rotting seed may reflect excessive moisture or unsuitable temperature. Neither is solved by copying a different gardener’s planting month. Diagnose the environment around the actual tray.
Split one modest sowing into two dates and keep the variety and method constant. Compare establishment and useful harvest, including how much indoor space each batch demanded. The later batch may catch up without extra effort.
Adapt and renew
Use hemisphere, frost pattern, wet season, and local heat periods to interpret advice. Cool-season crops may be autumn crops in hot climates. Global readers should translate conditions rather than swap month names mechanically.
At season’s end, keep a short list of dates that worked and the conditions that accompanied them. Save the observations, not just the calendar. Next year’s weather will differ, but the reasoning remains useful.
Work backward from the crop’s destination
Start with where the seedlings will eventually grow: outdoors in open ground, in a container, or under dependable protection. For each crop, read its temperature and light requirements and whether it tolerates root disturbance. A crop best sown directly should not be started in a shallow shared tray solely because the tray is available. A tender transplant needs a suitable destination before its indoor container becomes crowded. Otherwise, an impressively early sowing can produce large weak plants with nowhere safe to go.
Make a short sequence of decisions: when the destination is likely to become suitable, how long the crop normally needs in its initial container under your conditions, and whether you can provide enough light during that period. Work backward only after those questions are answered. Local frost dates are probability guides rather than guarantees. Add the conditions of your site, including an exposed roof terrace, a sheltered wall, or a low area where cold air settles. For readers in warm climates, excessive summer heat or seasonal rainfall may be a greater constraint than spring frost. The useful growing window is the period in which that crop can establish and mature, not the month that appears in a distant garden’s photograph.
Measure the place where the seed will sit
Air temperature on a weather app does not tell you the temperature of wet growing medium on a cold windowsill. Use a suitable thermometer if you need to check germination conditions, placing it as directed and considering night as well as day. A tray above a radiator can become too warm or dry unevenly, while a bright unheated room may be too cool for a warmth-demanding seed. A propagator or heat mat can help when used correctly, but the equipment should suit the crop and have safe temperature control.
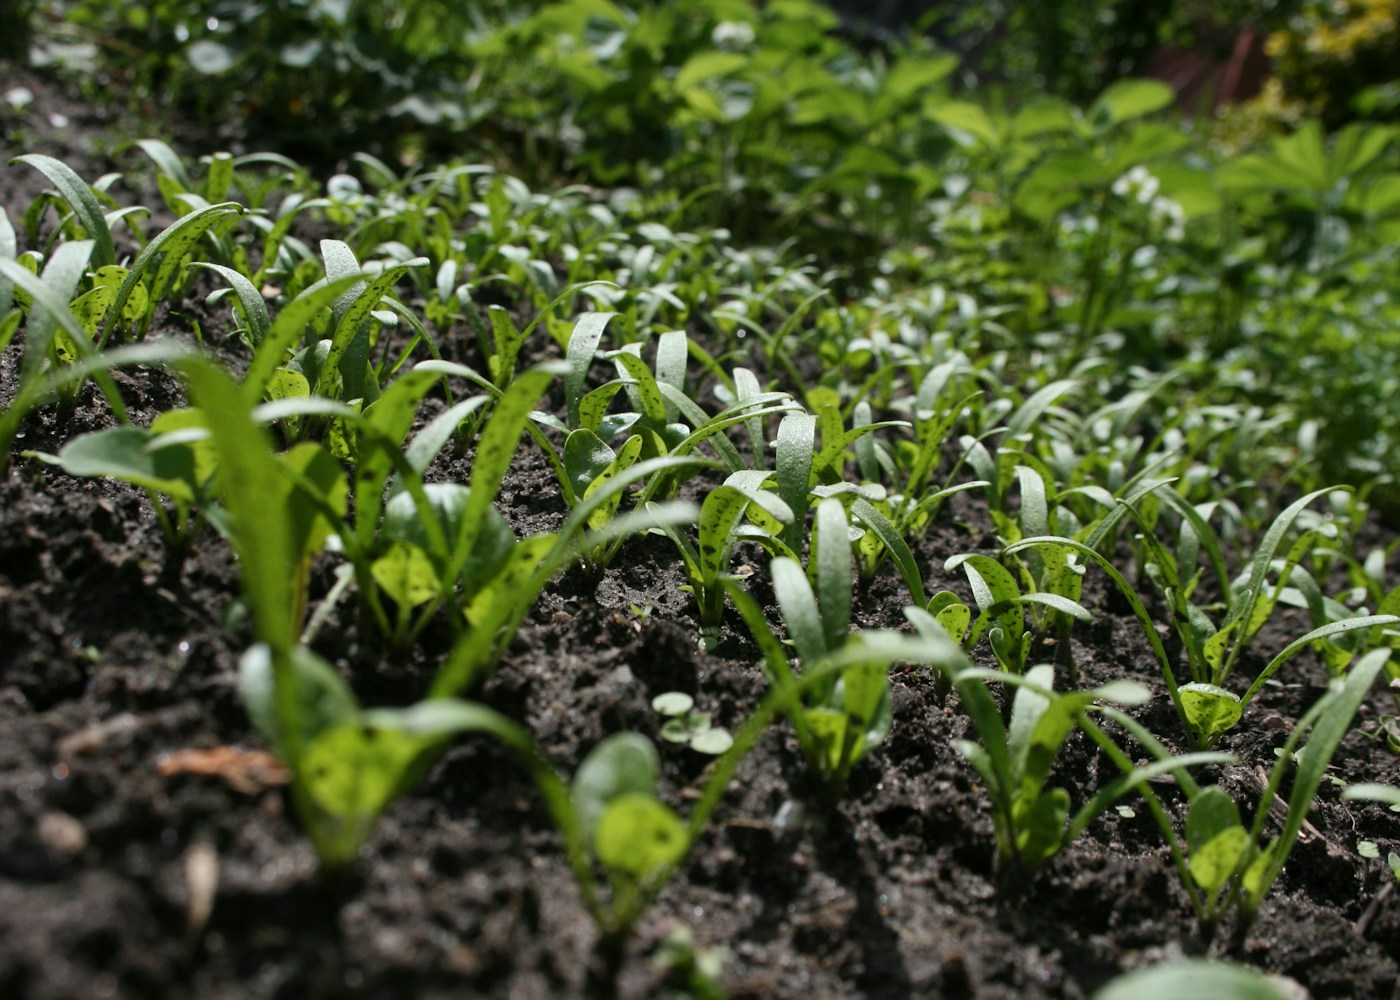
Keep germination and subsequent seedling growth separate in the plan. A seed may germinate in warmth before the seedling needs a brighter, appropriately cooler position. Leaving new growth in a dim warm place can lead to stretched stems. Watch trays often enough to respond when seedlings emerge, remove or ventilate covers as appropriate, and maintain suitable airflow without chilling the plants. Follow packet instructions for light or darkness during germination; not every seed should be buried deeply. Clean containers and a reliable sowing medium reduce avoidable complications, but neither compensates for a temperature far outside the crop’s useful range.
Use small successions instead of one irreversible sowing
A small early batch is a manageable way to test conditions. Label its crop, variety, sowing date, and location. Keep enough seed for another sowing if the weather or establishment is disappointing. For quick leafy crops, several modest batches can spread the harvest and reduce the chance that everything matures at once. The interval should reflect the crop and conditions; sowing every week is unnecessary if growth is slow and the first batch already exceeds what you can use.
Plan the space each batch will occupy as it grows. Ten small seedlings can become ten substantial pots before outdoor conditions improve. Thinning, pricking out, and potting on all need time and suitable containers. Avoid sowing the entire packet simply because seeds are small. If seed is old, a modest germination check can help estimate whether a replacement is needed, but use the appropriate conditions for the species rather than declaring failure after an arbitrary few days. Store unused seed as recommended, away from heat and moisture. Some seeds lose viability more quickly than others, so make the packet date and storage conditions part of the decision. A smaller deliberate sowing is easier to correct than an overcrowded tray nobody has space to maintain.
Treat transplanting as a transition, not a deadline
Seedlings raised in shelter need preparation for outdoor light, wind, and temperature changes. Gradually introduce suitable outdoor conditions during a safe weather window, returning tender plants to protection when necessary. The exact duration varies with the plant, its previous environment, and the weather. A fixed date on a calendar should not force delicate seedlings into cold wet conditions. Check that the final container or bed is ready and that water can reach the roots after planting.
Handle seedlings by a leaf or the root ball as appropriate, avoiding pressure on delicate stems. Follow the crop’s recommended planting depth and spacing rather than squeezing every survivor into a small patch. Crowding can produce a temporarily lush appearance followed by weak growth and difficult harvesting. If seedlings have outgrown their starting container while the destination remains unsuitable, decide whether careful potting on can hold them or whether a later sowing would be healthier. Starting again is sometimes more productive than preserving an early batch at any cost. Record the reason for a delay; next season, that note may prevent the same mismatch between indoor growth and outdoor readiness.
Turn a failed sowing into a specific adjustment
Suppose one tray germinates poorly. First ask whether the seed had enough time at a suitable temperature, whether the medium dried at seed depth, whether sowing depth was appropriate, and whether seed quality or storage may matter. Look for a pattern: an entire tray failing suggests different causes from one dry edge failing while the center succeeds. Do not respond by changing every variable at once. Correct the most plausible problem and use a small new batch to assess the result.
Keep records concise: date, variety, conditions, emergence, and the change you would make. At the end of a growing window, add whether the crop reached a useful harvest, not just whether germination occurred. A warm early sowing that produces weak transplants is not necessarily better than a later sowing that grows steadily. Over several cycles, the record becomes a local calendar shaped by your actual site. Use established regional guidance as a starting point and your observations to refine it, while recognizing that one unusually mild or cold season does not set a new permanent rule. The most dependable calendar gives you timely prompts to inspect conditions and enough flexibility to postpone a sowing when the site is not ready.
Use the packet as a record of the actual variety
Two packets bearing the same crop name can have different useful sowing windows. A variety selected for cooler conditions may respond differently from one intended for a warmer season, and maturity estimates assume suitable growing conditions. Keep the packet or photograph both sides so you retain the variety, supplier, sowing advice, and any special treatment directions. Do not transfer seed into an unmarked container and expect memory to preserve those differences.
When planning next season, compare the packet guidance with your own result rather than treating either as infallible. If a variety repeatedly bolts before a useful harvest, consider whether its planting window or the variety itself is poorly matched to the site. If seedlings consistently stall after transplanting, review the destination conditions and transition instead of simply sowing earlier. Change the part of the plan supported by the evidence. A later but well-timed crop can be a better use of seed, space, and effort than a long indoor start that never establishes strongly outdoors.
Further reading
Horticultural references for continued learning: