See the plantlets as a stage of growth
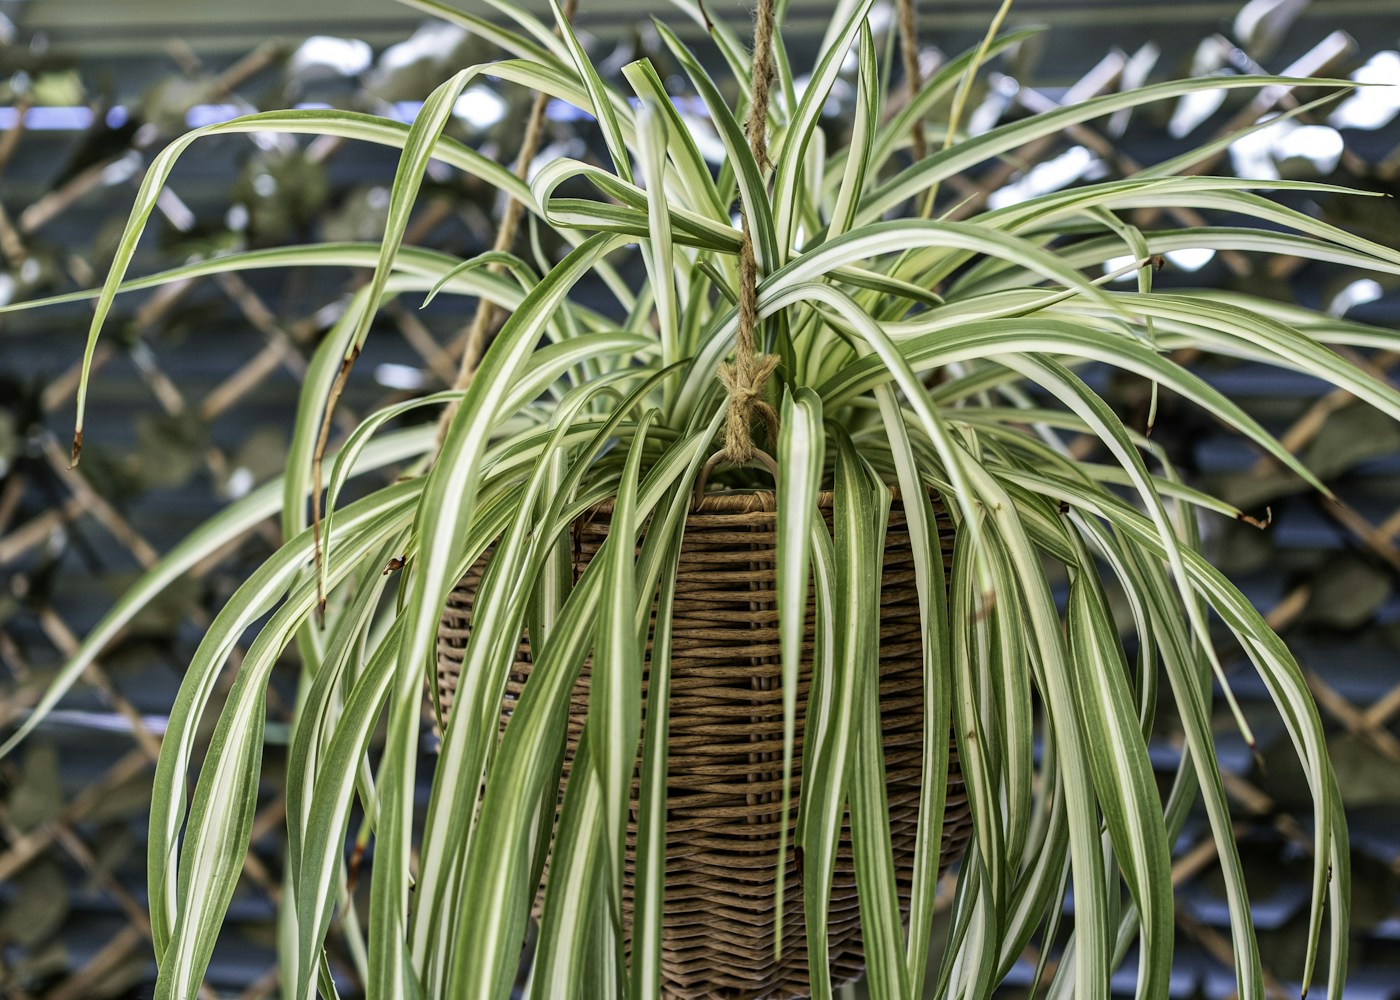
A mature spider plant can turn one pot into a hanging constellation of small plants. Long stems arch outward, carrying modest flowers and eventually plantlets that may form visible roots while still attached. Chlorophytum comosum is generous that way, but the offsets are easier to manage when the parent plant is growing well. A pot with brown tips and exhausted roots does not become healthier merely because every plantlet is removed for propagation.
Begin by deciding how much trailing growth the display can hold. On a high shelf, the stems need clearance from doors and passing people. In a hanging basket, remember that a watered pot is heavier than a dry one and needs a secure support appropriate to that load. Keep watering access easy. A spider plant that is awkward to reach may alternate between severe dryness and hurried flooding, which eventually shows in the foliage.
Choose light for both the parent and its offsets
Bright indirect daylight generally supports strong, arching leaves and useful growth. A little gentle sun may be acceptable after acclimation, but intense exposure can bleach or scorch foliage. A dark shelf may keep the plant alive while making it looser and less productive. Position the crown where it actually receives light, rather than hanging the pot so high that only the tips of the lower leaves face the window.
Variegated forms depend on sufficient light to maintain an attractive display, although leaf color also varies naturally among cultivars. Do not assume every pale stripe indicates a deficiency or every greener leaf means disease. Look at the pattern established across the whole plant. Rotate the pot occasionally if one-sided light creates an uneven outline. Avoid pressing foliage against hot or cold glass, since long leaves can quietly contact the pane even when the pot sits some distance away.
Water the roots beneath the leaves
Spider plants develop fleshy roots that store water, giving them some resilience during a missed drink. They still grow best when not repeatedly left bone dry for prolonged periods. Let the upper mixture dry somewhat before watering, checking deeper if the pot is large. Learn the pot's weight at that stage. A root-filled plant in warm bright conditions may dry much more quickly than a newly potted division surrounded by fresh mix.
When watering, part the arching foliage and apply water evenly to the root ball. Allow surplus to drain and empty the outer container. Avoid pouring into the dense central crown simply because it is the easiest target. If a badly dried root ball sheds water down the sides, rehydrate it slowly or use a short bottom soak, then drain. The goal is an evenly moistened root system followed by access to air, not a permanently wet saucer.
Understand brown tips before cutting them
Brown tips are common and can reflect inconsistent moisture, dry air, accumulated fertilizer salts, or sensitivity to substances in irrigation water. They do not identify one cause by themselves. Check whether the plant has repeatedly wilted, whether the pot contains standing water, and whether crusts appear around the rim. If your tap water is highly mineralized or the problem persists despite sound root care, trying suitable low-mineral water may help clarify the cause.
Trim dry tips with clean scissors if desired, following the leaf's shape and leaving a narrow dry margin rather than cutting repeatedly into healthy tissue. This improves appearance without curing the underlying issue. Avoid removing many leaves for a few imperfect ends. New leaves emerging with better tips provide more useful evidence that care has improved. Water left standing overnight still contains its dissolved mineral salts, so that practice is not a universal solution to water-quality problems.
Decide which offsets are ready
A useful plantlet has several leaves and a recognizable growing center. Visible root beginnings make establishment easier, although offsets can also root after removal when handled appropriately. Very tiny plantlets have fewer reserves and are harder to keep evenly hydrated. Let them grow on the parent for a while rather than detaching every new cluster immediately. You can select a few strong ones and leave the rest as part of the display.
Look along the trailing stem to distinguish plantlets from flowers and buds. Do not cut the stem at random just to shorten it if you want to keep an offset. Choose the intended plantlet first, then decide whether to root it while attached or after separation. A clear plan prevents a tangle of loose pieces that all need care at once. Propagating two healthy offsets is often more useful than starting a dozen weak ones.
Root an offset while it remains attached
Set a small pot of fresh, lightly moist houseplant mixture beside the parent. Place the base of a suitable plantlet against the surface, with its growing center above the mix. A bent plant pin can hold it gently without crushing the crown. Leave the connecting stem intact so the parent continues supporting the offset as roots develop. Keep the new pot in suitable light and check it separately, since a small container can dry rapidly.
Once the offset resists a very gentle movement and shows continued growth, it is likely establishing roots. Avoid tugging hard to prove the point. Cut the connecting stem with clean scissors when the plantlet is well supported by its own roots. This attached-rooting method needs space near the parent but reduces the abrupt change faced by a detached offset. Move the new plant gradually into its permanent position rather than combining separation with a sudden change in light.
Root a detached offset in mix or water
If space makes attached rooting awkward, cut a substantial plantlet free with clean scissors. Pot its base into a small draining container of moist, airy mix and support it if necessary. Keep the crown above the surface and maintain modest even moisture while roots develop. A large pot is unnecessary and can remain wet too long. Bright indirect light is preferable to a hot sunbeam that dries the young plant faster than its new roots can supply water.
Water rooting is another option when you want to see the roots form. Keep the base in clean water while leaves and crown remain above it. Replace cloudy water and keep the container stable. Transfer the plantlet into a small pot once roots are sufficient to anchor it, taking care not to crush them. Keep the mix evenly moist during the initial transition, then move toward the normal drying pattern as establishment progresses.
Repot a parent that has outgrown its container
Spider plant roots can fill a pot densely and eventually push the plant upward or distort a plastic container. A root mass that leaves little room for mix may need a modestly larger pot. Inspect before acting: a few roots emerging from a drainage hole do not always justify immediate repotting. The more useful clues are dense occupation throughout, unusually rapid drying, or water that no longer distributes well through the root ball.
Use a fresh, well-aerated houseplant mixture and keep the crown near its original level. Gently free crowded outer roots without stripping away every healthy root. If the clump has several growing groups, division may also be possible. Each division should retain a useful amount of roots and foliage. Pot divisions into proportionate containers rather than compensating for cut roots with an enormous wet volume. Water to settle, drain, and monitor recovery through new growth.
Keep feeding and grooming proportionate
Feed during active growth with a suitable houseplant fertilizer at its labeled rate. More fertilizer does not reliably create more attractive offsets, and excessive feeding can contribute to brown tips through salt accumulation. If the plant is vigorous in fresh mixture, a modest feeding program is often sufficient. Reduce or pause feeding when growth slows markedly. Check light and root health before treating slow development as a nutritional emergency.
Remove dead leaves and spent stems with clean scissors. Inspect for scale, mealybugs, and mites where foliage is dense or stems join the parent. A small pest issue is easier to address before several newly rooted offsets spread around the house. Although spider plants are widely regarded as lower-risk choices around pets than many aroids, chewing can still upset an animal's stomach. Keep dangling leaves and heavy pots away from pets that pull or climb.
Give the next generation a manageable start
For a first propagation session, choose two substantial plantlets from a healthy parent. Root one while attached and the other in a small separate pot if you want to compare the practical work involved, without expecting identical timing. Label the pots with the separation date and avoid disturbing the roots repeatedly. Once both produce steady growth, decide whether to keep them, give them away, or use them to replace an aging display. The point of offsets is a reliable new plant, not simply the largest possible number of pots.
When giving an offset away, include its name and the conditions under which it rooted. Mention whether it is freshly potted or already established, since that changes the recipient’s first watering decisions. A small sound plant with clear care information is more useful than an unrooted plantlet presented as though it needs no attention.
A hanging stem that has finished carrying plantlets can be cut back close to its origin once you no longer want it. Do not confuse this with cutting the center of the parent rosette, where new leaves emerge. Work in good light and follow the slender stem carefully through the foliage before cutting. Remove fallen dry pieces from the pot so the crown stays easy to inspect. This selective tidying preserves the arching parent leaves and avoids the ragged appearance that results from trimming the whole plant indiscriminately with household scissors.
Further reading
Horticultural references for continued learning: